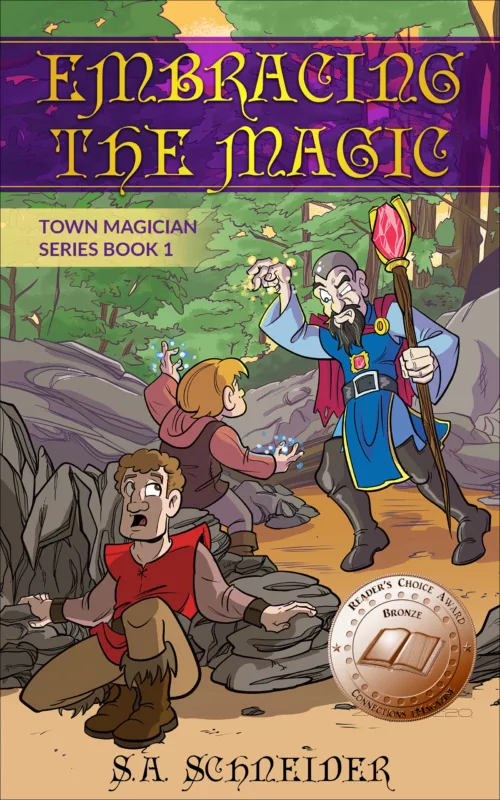
Like many authors I wrote a book and proceeded to order a ton of copies. Everyone will be buying it, so I need dozens, right?
Then, also like many authors, I got a bit better and fixed that book to a 2nd edition. Now, I’m stuck with dozens of books that I can’t sell. Who wants the old version? And I don’t want them to have it.
Now what to do with all the leftover books.
Likewise, if you’ve ever been to a library book sale you can get tons of books for good prices. And usually on the last day you can buy whole bags of books for pennies.
If no one purchases them they get pulped or dumped in the landfill. Which is what also happens to many leftover author books.

Here’s one idea I’ve had to help this issue. So authors, something you can do with so many leftover books. And teachers/parents, you can do this as a fun activity with the kids.
Bookmarks
What I did was use the pages from books to create bookmarks.

I’ll walk you through the process.
1 – Setup your wordprocessor
First, you need to set up your word processor – Microoft Word, Open Office Writer, Libre Writer, etc. Set the page size to be the size of a page of your book. My book was printed as 5 x 8. It might be 5 1/2 by 8 or 6 x 9. Look in your preferences to set the page size so it’s the same size.

2 – Lay out the pictures
Once you have it setup, add the images you want to print. On my 5×8, I can get 3 images at the size I want. You can adjust the sizes to get skinnier bookmarks or more bookmarks on a page.
I also did a 2nd side so I could print on both sides of the paper. I have my book cover on 1 side and my author logo on the other. For kids, they can provide their own artwork. If it’s a book they’ve read (and hopefully still have good copies of to read again!), they can create scenes from the story.
Don’t just print words as it will be a jumbled mess since you still see the text on the page underneath. That’s the idea – kinda like those shirts that have a whole book manuscript printed on them.
3 – Take the pages out
Now you need to carefully rip the pages out of your book. This can be a bit painful if you’re the author, but think of the great use your getting for these pages that you otherwise don’t want seen.

4 – Print
Take the pages you ripped out of the book and put them in your printer. You will probably have to adjust the guides for it. And make sure the paper is set so that you can print correctly. If you put the paper in the tray on it’s side, you need to make sure your word processor settings are set for that. It’s just like printing portrait or landscape.
I printed on both sides, so I had to put the paper back in and upside down to print on the second side. Check your printer to see how to do this or if it will print automatically on both sides.
5 – Laminate
Once printed, you will need to cut the bookmarks apart before you laminate. I have a small laminating machine to do this. You’ll need to get the laminating sheets and place the cut bookmarks in them. Leave room in between so it can seal. You have to cut the bookmarks out before laminating. If you put the whole sheet in and then cut, your bookmarks won’t be sealed on the cut sides.

The above picture, I could have adjusted them and got another 1 or 2 in to laminate. You may need to experiment depending on size of bookmarks.
Be careful as laminators are hot, so stay with your kids to supervise.

6 – Finish
Once you’ve passed them through your laminator and they cool, cut them apart and you have finished bookmarks!
You can see how the text shows through the images. You may have to experiment with your particular printer to get the best results.
I then take these bookmarks to school visits and have at my author table to hand out to the kids.


